Have you got wine bottles in your home? Are you aware you can make great hummingbird feeders from your wine bottles? That’s right! You can make use of your wine bottle parts for your hummingbird feeder and create a nice feeder for your sweet hummers.
The majority of the hummingbird feeders you see in different stores are made from glass or plastic. Most of your wine bottles are also made of glass or plastic. These store-bought feeders even tend to be more expensive when they are made to be more elaborate.
But you can save money by simply recycling the wine bottles you’ve got at home and making a homemade hummingbird feeder.
Therefore, let’s look into how to make use of parts of your wine bottle to make a hummingbird feeder for your sweet hummers.
Wine Bottle Hummingbird Feeder
Apart from creating hummingbird feeders using wine bottles, this is another fun way of making an easy project that will get these lustrous birds sipping nectar and hovering around your vicinities.
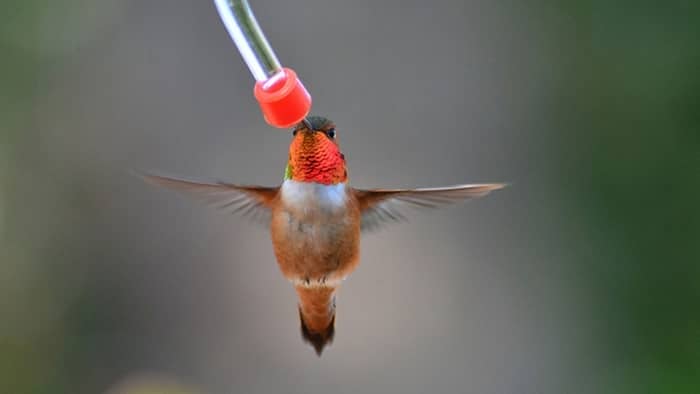
The best part of this is that most wine bottles are crimson bottles. It is no news that these iridescent birds are attracted to the color red. This makes a wine bottle an ideal tool in creating a hummingbird feeder.
Even if some of the wine bottles aren’t decorated red, you can still make use of it to make your hummingbird feeders. Just decorate or dress up the feeder by adding a touch of red to it or around the feeder.
So, let’s dive in and see how we can make a hummingbird feeder with parts of a wine bottle.
How To Make A Hummingbird Feeder Out Of A Wine Bottle

Making a hummingbird feeder using a wine bottle is pretty easy and straightforward if you have the right knowledge.
So, follow these tips to learn how you can make a hummingbird feeder using parts of your wine bottle:
Materials Required
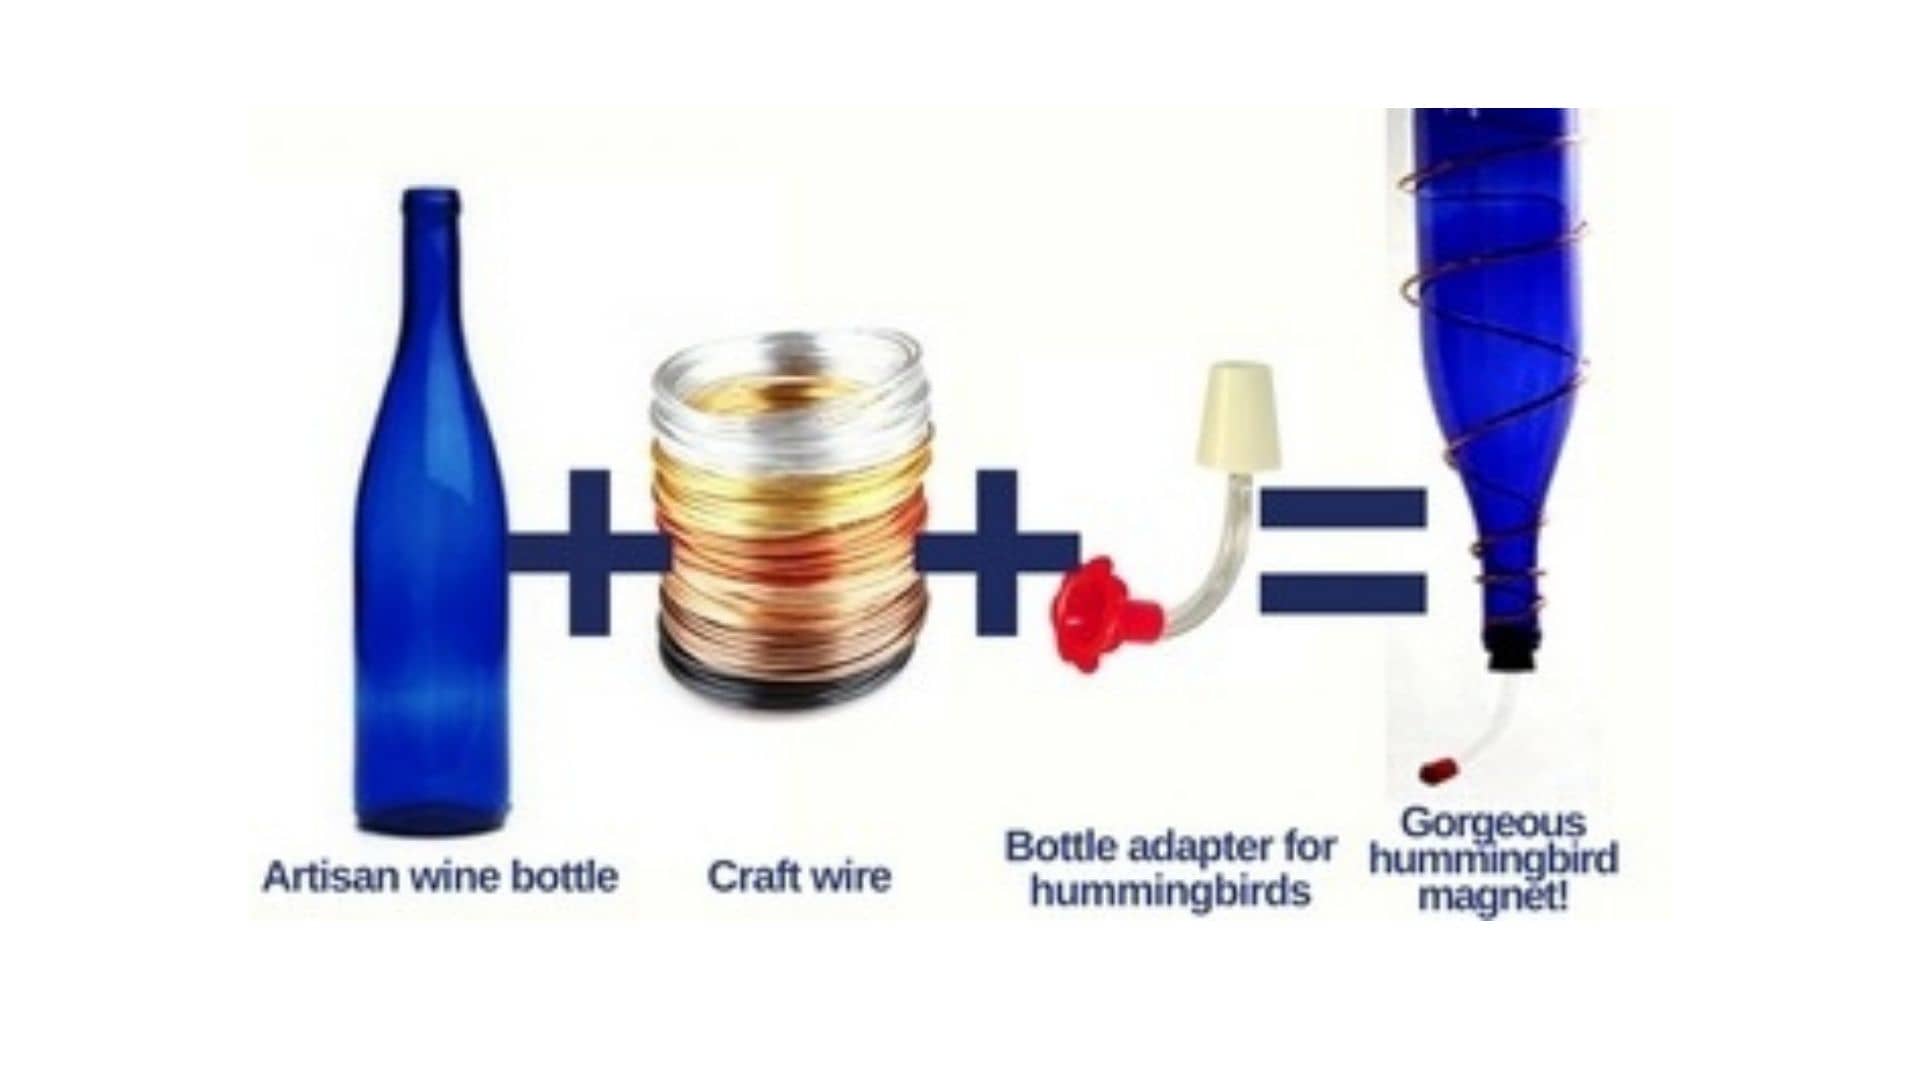
Here are the important tools needed for a DIY hummingbird feeder using a wine bottle:
- A clean used or new wine empty bottle.
- Adapter tube for hummingbirds made especially for wine bottles.
- Aluminum, copper, or galvanized steel wire that is thin enough to bend with pliers. However, it should be strong enough to hold steady a full wine bottle at the same time. You can as well go for a thicker gauge wire.
- Pliers
- Hummingbird’s nectar solution that is made from 4 parts water and 1 part sugar.
Steps to Making a Wine Bottle Hummingbird Feeder DIY Process
Step 1
First, if you’re making use of an old or already used wine bottle, ensure you clean them thoroughly before use. You can make use of soap and water to clean the wine bottle.
We recommend you go for wine bottles that are red in color. However, you can still make use of non-red wine bottles and just decorate them with red.
Step 2
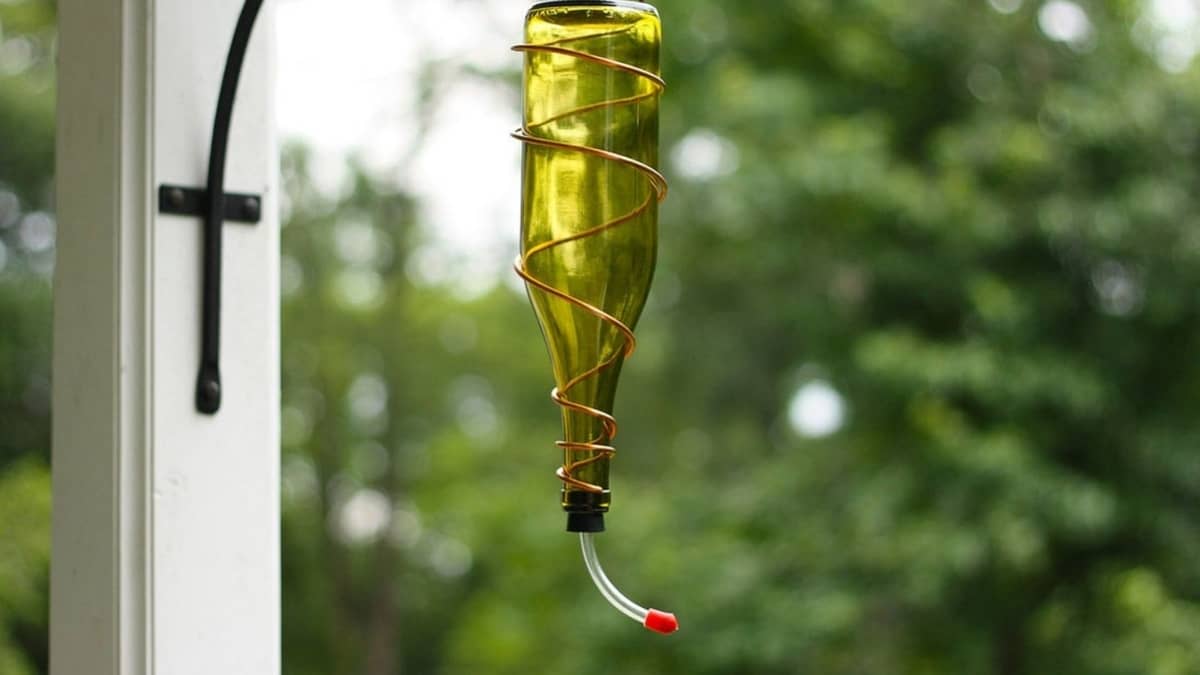
Next, get the copper wire and wrap it around the neck of the wine bottle at least 3 times. With the wire wrapped around the bottle, hold the neck of the bottle and begin to wrap the wire down the rest of the bottle in a spiral fashion. There should be an adequate spiral ring around the wine bottle to hold it firmly.
Leave extra 2 or 3 feet of slack that you will use to create a hanger for the wine bottle.
Step 3
Fill the wine bottle with nectar solution and turn the bottle over. Do this simple test to check for any leakage by securing your finger over the opening of the bottle.
Step 4
Next, insert the hummingbird’s adapter tube into the opening of the wine bottle. The end of the adapter tube that looks like a cork should be shoved into the wine bottle opening.
Step 5
The end of the wire should be further bent to form a hanger or a loop. This loop or hanger should be used to secure the hummingbird feeder onto a tree branch, long a fence, and so on.
Step 6
Once you’re done with all these setups, uncover the feeding tube and your hummingbird feeder is ready to go. So, watch these sweet iridescent hummers come by for a sip.
Maintenance Of The Wine Hummingbird Feeder
Once you’ve successfully created and set up the wine bottle and hummingbirds have started trooping in for some sip, you need to maintain this bottle.
Maintenance involves cleaning your bottle and replacing the nectar solution at appropriate periods. This is to always help supply our sweet hummers with a safe and healthy nectar solution.
So, here are some tips to maintaining your hummingbird feeder:
- Clean your feeder at least once a week to prevent mold from building up. However, once the temperature increases, you will need to increase the number of times you clean your feeders weekly. Feeders that are made from glass and plastic should be cleaned using vinegar solution. Additionally, a bottle brush should be used to clean any debris. Then rinse with warm water afterward.
- Also, refill your nectar solutions at appropriate times. If the temperature is high, frequent changes of nectar solution will be required. This is because high temperature can encourage fermentation of nectar solution and this will make the nectar less appealing to hummingbirds. Replace nectar solution 3 or 4 times or even more weekly with high temperatures. With moderate temperature, you can replace nectar solutions 2 or 3 times weekly.
- Always check your feeders for any leaks or cracks and fix or seal them up immediately.
- Clean any spill around your feeders. This is to reduce the likelihood of an ant invasion. Hummingbirds may feed in harmony with just a few ants. However, if the ant invasion becomes unbearable, hummingbirds tend to abandon that feeder to look for a more reliable food source.

Final Say On
Creating a hummingbird feeder with the use of some parts of a wine bottle is a fun thing to do. In this post, we have carefully outlined how you can easily create your hummingbird feeder using wine bottles. So, ensure you follow our guide for a better outcome.

