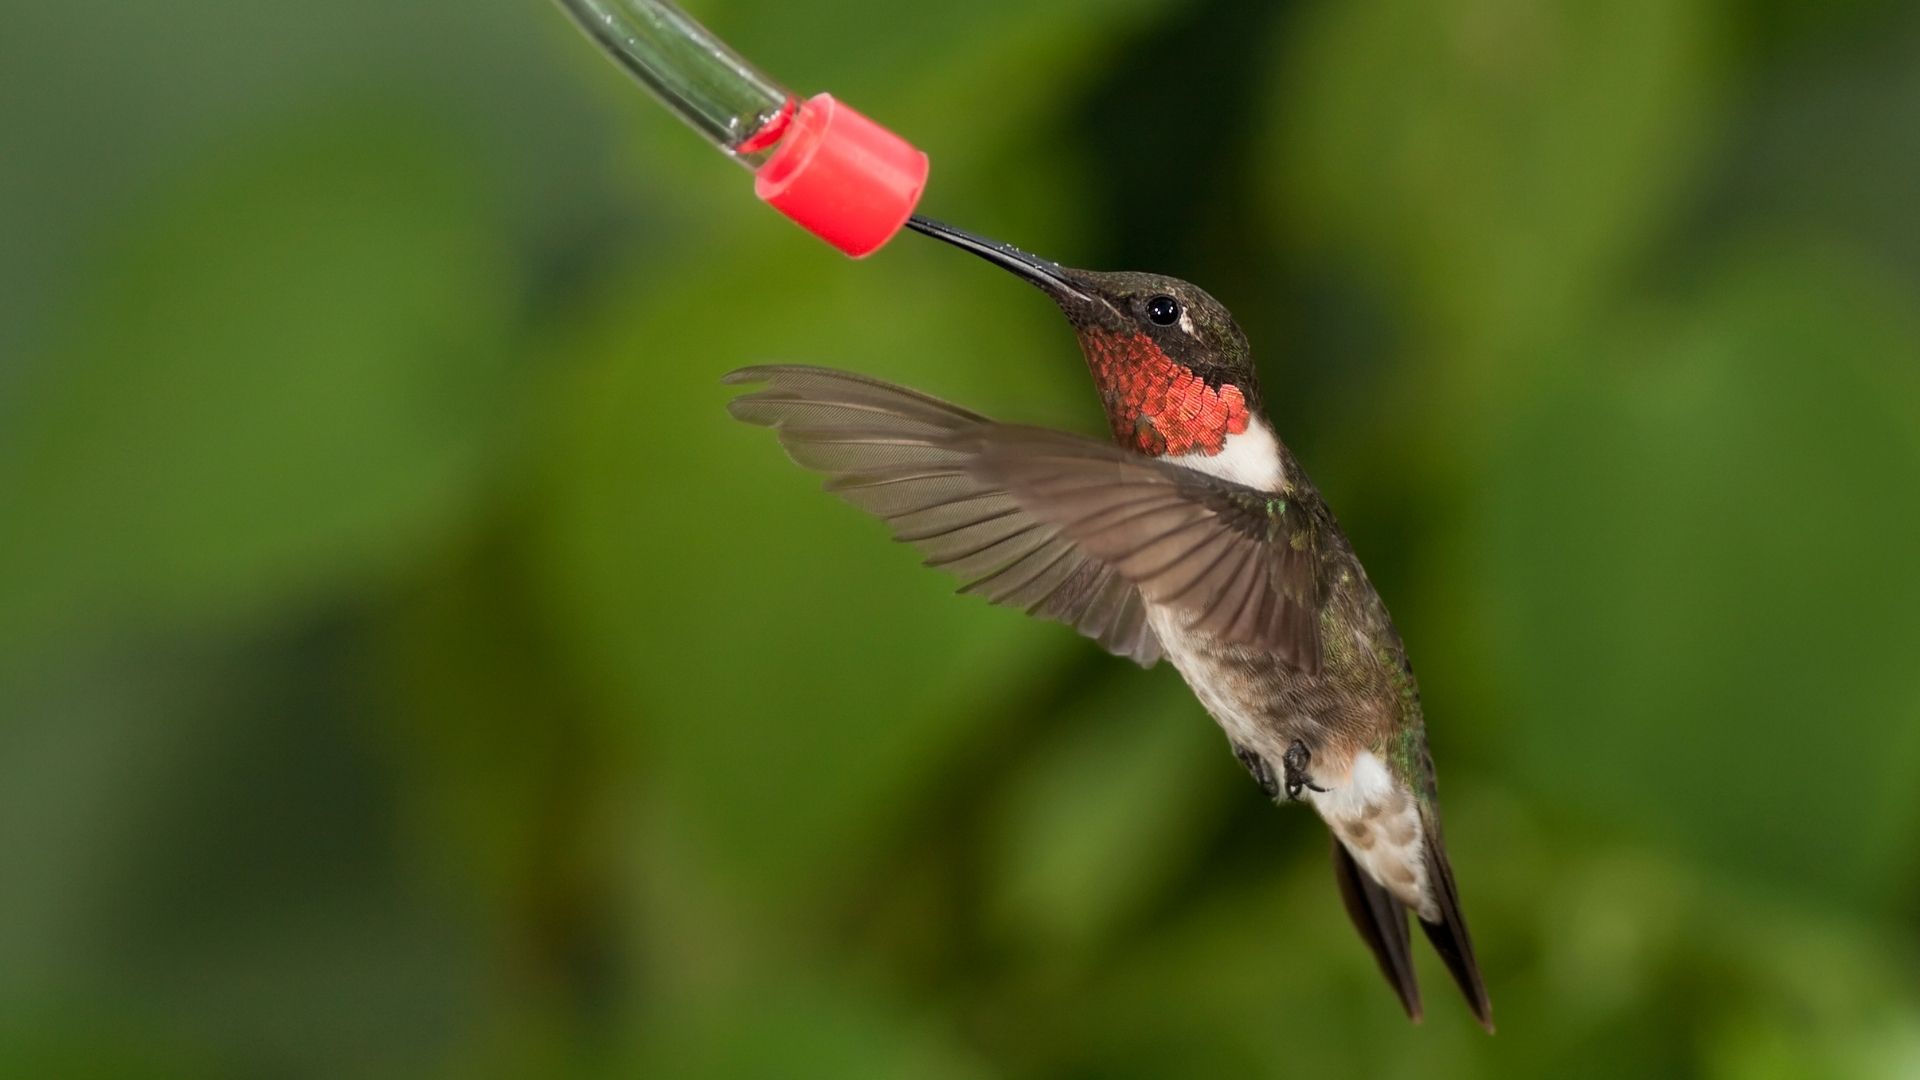
You are wondering how to make a hummingbird feeder tube at home, without any skill or special tools? We have a solution to your struggle. Hummingbird feeders can be bulky and not as friendly for small gardens or balconies. You need a hummingbird feeder tube that’s flexible and compact. The best thing- you can customize these feeders to fit perfectly with your plants and pots.
How To Make A Hummingbird Feeder At Home
This quick and easy tutorial will guide you through the steps of how to make a hummingbird feeder tube from the comfort of your home. Before starting, make sure you get everything you need.
Components
- Glass test tubes;
- Red caps;
- Copper wire;
- Sugar water;
- Suction cup (optional).
Equipment
- Pliers;
- Drawing pin.
Glass test tubes are easier to clean and help inhibit bacteria, unlike plastic. If you can’t find red caps for the tubes, go for another bright color like orange. Aluminum wire can work as a substitute for copper wire. It’s lighter and more flexible, but copper is more durable and holds shape better. The drawing pin will help you make a small opening in the tube cap, but you can use any other sharp tool like a thin bolt or ice pick.
Depending on where you want to place your feeder, you might need a suction cup. They’re ideal for sticking your feeder to a glass door or window. Otherwise, you’ll need some extra wire to wrap it on your fence or stick it in the flower pots.
Instructions: How To Make A Hummingbird Feeder Tube
Step One
Start by cleaning your glass tubes with warm water and dish soap. Make sure there’s no residue. Next, check if the caps fit and there’s no leaking – this, of course, is important if you ordered the tubes and caps separately.
Step Two
Take your drawing pin or other sharp but thin tool and pinch a hole in the caps. The opening should be wide enough for the bird to insert its beaker but not too wide for the sugarwater to run out. Think of hand-held hummingbird feeders – that’s the hole you’re aiming for.
Step Three
Time to wrap the wire around the tube. Start by placing the wire’s end inch or two below the cap. Use pliers to wrap the wire around the tube three to five times, depending on the length of the tube.
Step Four
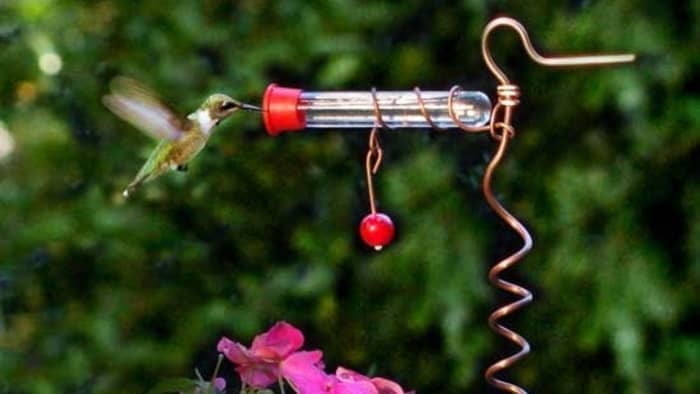
Make a hanging tree by bending copper wire with a larger diameter. It will be sturdier and more stable and you can attach more than one tube. If you’re going for a window-attached feeder, continue with the same wire you wrapped the tube and wrap the tip of the suction cup.
Step Five
Fill each tube with sugar water and put the caps on. Finally, attach the tube to the preferred place. And you’re done! Now pick a suitable place where you can watch the hummingbirds feast on your new feeder.
Where To Place Your DIY Hummingbird Feeder Tube
The greatest thing about hummingbird feeder tubes is that you can place them anywhere – unlike larger feeders. Just look at some of the options below.
Window Feeder
With the help of the suction cup, you can create your personal birdwatching spot in your living room. Simply place the suction cup on a sunny window near your coziest armchair and let the hummingbirds come to you.
Flower Pot Feeder
Some flowers can attract hummingbirds, but if you don’t have them in your garden, you can fix that with a tube feeder. Insert a wider diameter copper wire stand and attach a couple of tube feeders. Even though the flowers don’t entice the hummingbirds, they’ll be frequenting the feeders near them.
Hat Feeder
Want to take birdwatching to a whole new level? When wrapping your tubes, let the back end of the wire longer. Attach the end to a clip or clothespin. Take a baseball hat and pin the clip on the visor. Be very patients; sit in your garden, and hummingbirds will come to feed!
Hanging Balcony Feeder
Hanging a tube feeder will be a great accessory to a stand, lamp post, or iron fence on your balcony or porch. Attach several wrapped tubes to each side, creating a spiral. It will bring color and life to your boring patio!
Hummingbird Feeding Tube vs. Saucer
Why should you go the extra mile to make a tube feeder instead of purchasing a classic saucer feeder? Saucer feeders might appear more manageable, require fewer refills, and they’re easier to clean. But the longer the sugar water stays inside the feeder, it becomes a breeding ground for bacteria. As a result, saucer feeders have higher chances of spillage and attracting bees. With saucer feeders, you have a limited choice of placement.
Tube feeders are a type of vacuum feeders which hummingbirds prefer. They’re smaller, which means constant refills but also fewer chances for bacteria development. In addition, they’re easy to clean with a tube cleaning brush, and the caps with tiny openings ensure little to no spillage. The choice of installation is vast – you can create a birdwatching haven right outside your window.
Bottom Line: How To Make A Hummingbird Feeder Tube
To make a hummingbird feeder tube, first, make sure you have all the necessary elements. Place an order online for a dozen of glass test tubes, some red caps, copper wire in two diameters, and mix your sugarwater.
Wrap the tubes with the wire, fill them with the hummingbirds’ food and make a small hole in the cap. Place the feeder tube wherever you like; the choice is barely limited.
Tube feeders have a plethora of perks compared to other feeders, mainly if you have limited space. You can place them in pots with plants, attach them to your fence, window, and even hat.
I hope you found the guide helpful and will resort to making your own tube feeder. Let us know down in the comments what’s your experience with DIY feeders. Finally, don’t forget to share this tutorial with some of your hummingbird-loving friends!
Learn more about