If you’re all about upcycling, we’re here to teach you how to make a hummingbird feeder out of a mason jar. You can find all the supplies you need at your local craft store, and it only takes a few minutes to put together. Plus, you can customize your feeder any way you want, creating the perfect accent for your garden.
If you’re a birdwatcher, you know how fun it is to see hummingbirds close. But, if you want to get even closer to these little birds, then why not try making your own hummingbird feeder? Here are some tips on how to make a hummingbird feeder out of a mason jar.
Homemade Hummingbird Feeder With Recycled Mason Jar
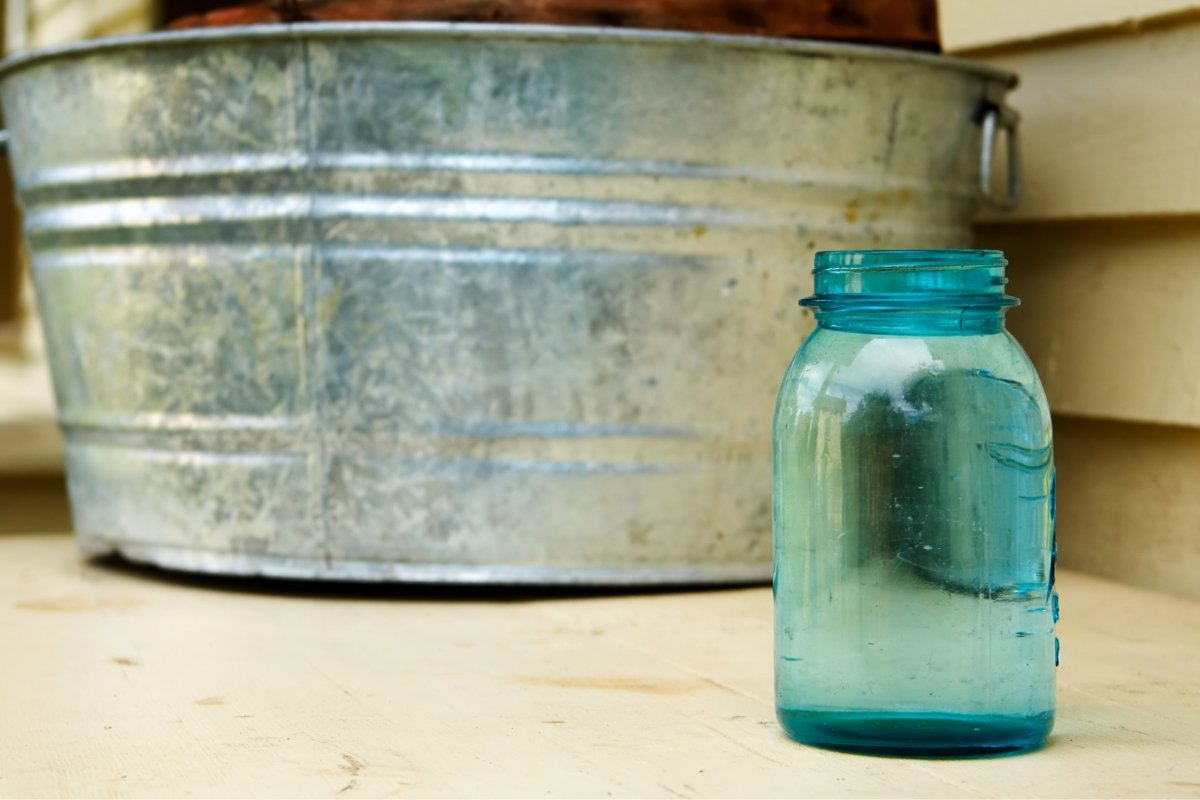
If you’re looking for an easy and inexpensive way to set up a hummingbird feeder, look no further than your used Mason jar! But how to make a hummingbird feeder out of a mason jar? All you need is a Mason jar, some sugar water, and a few tools. The sugar water will attract hummingbirds to your yard, and the Mason jar will keep it fresh and safe for consumption.
But how do you hang a Mason jar feeder? Read along to learn this and more on how to attract all the hummingbirds in the area this season!
Material
- Mason Jar with lid
- Homemade hummingbird nectar
- 2 Screw eyes
- Hanging chain or rope
- Red paint
Equipment
- Drill with 1/8 inch bit
- Pliers
- Hot glue gun
- Paintbrush
Instructions
Step One – How To Make A Hummingbird Feeder Out Of A Mason Jar
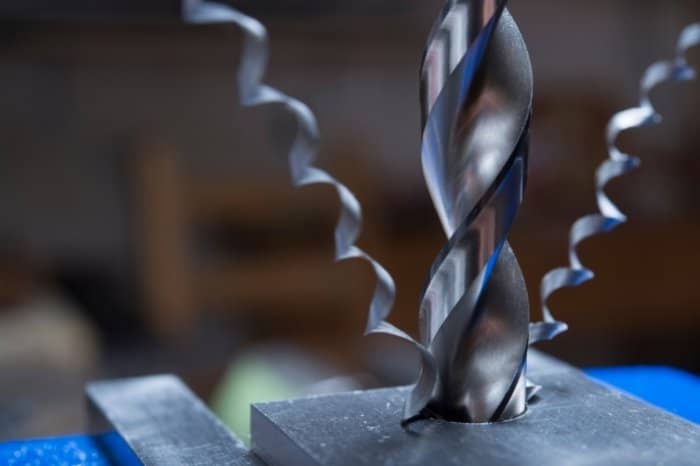
Clean the Mason jar thoroughly so there’s no soap residue and let it air dry. Draw a straight line across the diameter of the lid and drill two holes on the opposite sides. Insert the screw eyes on each end and secure with hot glue. Let it cool and check if the screws are secured.
Step Two
Drill 5 holes around the center of the lid, these will serve as feeding points. Paint the lid red or another bright color of choice and let it dry completely.

Step Three
Take a hanging chain for plant baskets or a thin rope and feed it through the eye screws. Fill your Mason jar with homemade nectar, place the lid, secure it and hang the feeder outside in the garden.
Check Out How Far Apart To Space Hummingbird Feeders? Best Way To Avoid Hummingbird Fights
Painting The Mason Jar Feeder – How To Make A Hummingbird Feeder Out Of A Mason Jar
A splash of paint is inevitable when learning how to make a hummingbird feeder out of a mason jar. A painted hummingbird feeder can be a beautiful addition to your yard or garden. The vibrant colors can attract the attention of these feathered friends, and the sweet nectar will provide them with a much-needed energy boost. Plus, it’s a fun project that you can do with kids!
Get creative – hummingbirds are attracted to bright colors like red, orange, and yellow. Once the paint is dry, fill the jar with sugar water and hang it from a tree branch or shepherd’s hook.
But, keep in mind that if you paint the feeder, you can see through. This is important as you need to keep the nectar fresh without clouding or fungus. If you decide to paint the feeder, check it every 3 days to ensure it’s fresh and safe.
When To Replace The Hummingbird Nectar
Hummingbird nectar should be replaced every 3 to 4 days, or more often if it starts to turn cloudy. The development of mold and bacteria in the feeder can eventually kill the hummingbirds. Moreover, they will start avoiding the feeder even after you’ve cleaned it!
Perky-Pet 238CL Clear Hummingbird Nectar 32 Oz Concentrate – Makes 128 Fl Oz
Making nectar is easier than learning how to make a hummingbird feeder out of a mason jar. Mix water and sugar in a 4:1 ratio. You can also boil the water for two minutes to sterilize it, then let it cool before adding the sugar. Do not use honey, as it can contain bacteria that can harm hummingbirds. Once the nectar is mixed, pour it into a feeder and place it outside. By taking these simple steps, you can ensure that your hummingbirds have a safe and reliable source of food.
Cleaning The Homemade Hummingbird Feeder
We talked about how to make a hummingbird feeder out of a mason jar, but how to clean it properly? Though tiny, hummingbirds are fierce competitors when it comes to feeding. To clean a hummingbird feeder, start by taking it apart and soaking all the parts in a solution of 1 part vinegar to 4 parts water. Let the parts soak for a few minutes, then scrub them with a soft brush.
Rinse the parts thoroughly, then reassemble the feeder and fill it with fresh sugar water. It’s important to clean your hummingbird feeder regularly, as sugar water can spoil fast, especially in the summer months.
Click Here to Get Info About:
Glass Vs Plastic Hummingbird Feeders
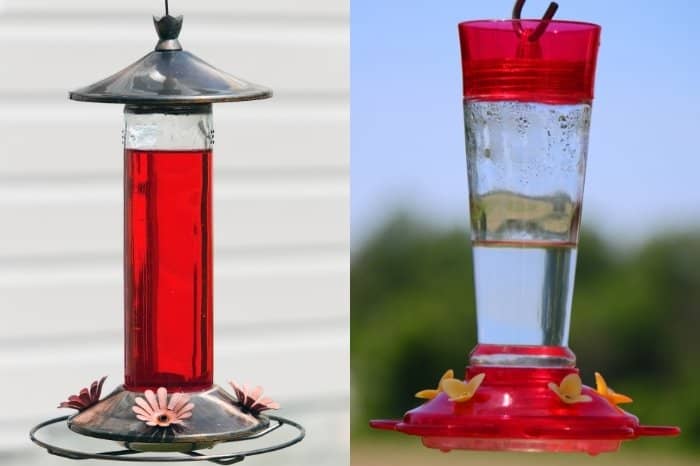
One of the reasons you should learn how to make a hummingbird feeder out of a mason jar is that glass feeders are very expensive. You might even wonder do blown glass hummingbird feeders work or just look pretty? And is glass or plastic better for hummingbird feeders?
Glass hummingbird feeders have a lot of advantages over plastic feeders. Glass is a durable material, so a glass feeder will last longer than a plastic one. It’s also clear, so you can easily see how much nectar is in the feeder and when it needs to be refilled. Because glass is non-porous, it’s very easy to clean – just rinse it with hot water and soap.

In contrast, plastic hummingbird feeders can become stained and difficult to clean over time. Some birds prefer the way that nectar flows from a glass feeder. And finally, glass feeders just look nicer than plastic ones! If you try and learn how to make a hummingbird feeder out of a mason jar you’ll get a nice feeder for free.
Bottom Line: How To Make A Hummingbird Feeder Out Of A Mason Jar
Learning how to make a hummingbird feeder out of a mason jar was never easier; get a clean jar, make a few holes, add some eye screws, fill up and hang!
Make sure to keep the ratio of sugar to water between one and four; otherwise, the hummingbirds may not be able to digest it properly. Now simply hang your feeder outside and wait for the hummingbirds to arrive!
FAQ’s
[rank_math_rich_snippet id=”s-1aca33d3-86c0-46c5-9d86-0eb2420bd4e9″]


