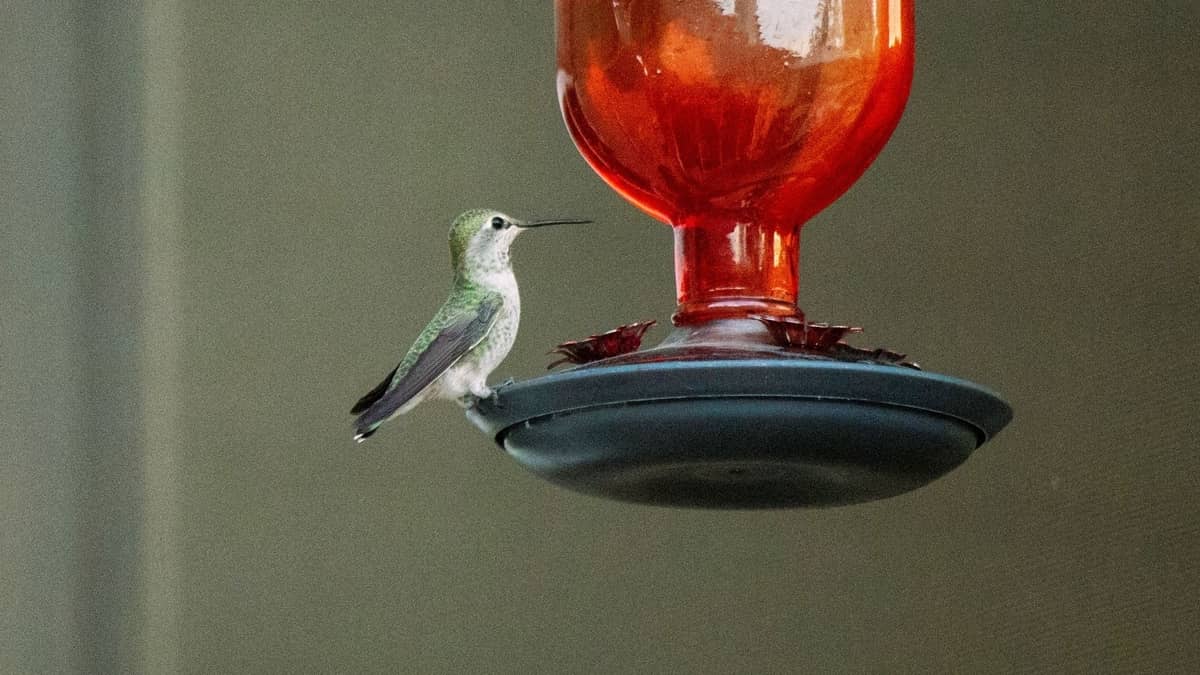
When it comes to hummingbird-inspired DIY projects, look no further – we have the right tutorial on how to make a hummingbird feeder with a 2-liter bottle. Small hummingbird feeders might not be enough during peak season. If your garden is a feeding station to many hummingbirds, you need to up your game. Store-bought feeders can be pricy, so why don’t you take upon a simple DIY project?
A big feeder is flexible – you can fill it up as much as you need. They work great in the cooler months when you don’t have to replace the nectar as frequently. Let’s dive into the tutorial.
Making Your Own Hummingbird Feeder
This tutorial combines two great ideas. You’re feeding the hummingbirds by repurposing an empty plastic bottle. You’ll save a bottle from ending in a landfill and provide the hummingbirds with some sweet nectar.
The process is simple and entertaining for the whole family. You can even teach the young ones how to make a hummingbird feeder with a 2-liter bottle. It’s certainly more fun than hanging up a store-bought feeder. Here’s what to prepare beforehand.
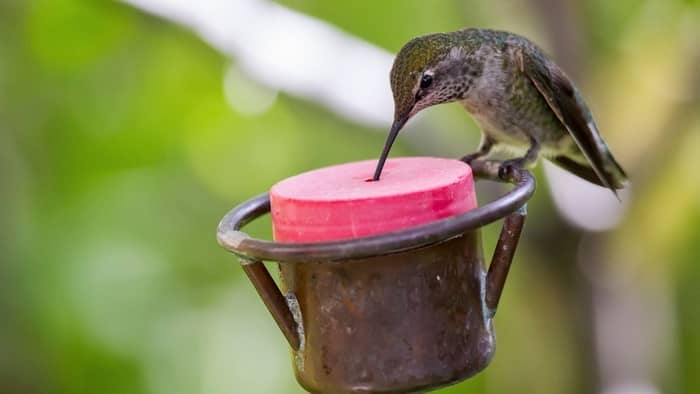
Material
- 2-liter plastic bottle
- Small plastic container (6 x 4 x 3 will work great)
- Copper wire
- Marker
- Food safe caulk or hot glue
- Sugar water
- Spray paint (optional)
Equipment
- Drill with 1/8 inch and spur-point drill bits
- Measuring Tape
- Pliers
For the plastic container, you can repurpose an older Tupperware or recycle plastic packaging. It has to have a removable lid, be shallow, and not too large. Copper wire is more flexible, therefore, easier to maneuver. You can go for steel wire if you like more sturdiness.
You already know that bright colors attract hummingbirds. Since we’re working with a clear plastic bottle, you can get your hands on a can of paint spray. Go for red, bright green, yellow, or orange.
Instructions: How To Make A Hummingbird Feeder Out Of A Plastic Bottle
Step One
Take the lid off the container. Place the bottle in the center and use a marker to outline where you’ll need to drill. The hole needs to fit the whole neck of the bottle. Then, attach a larger spur-point drill bit. Use this bit to drill the hole you previously marked.
Step Two
Take the cap off the bottle and get your 1/8 inch drill. Carefully drill an opening in the middle of the cap. Drill 4 to 6 more holes in the container’s lid. These openings are where the hummingbirds will insert their beak to slurp on nectar.
Step Three
The wire will serve as a hanger for your 2-liter bottle hummingbird feeder. Wrap the wire 2 inches below the bottom. Once you’ve made the band, turn the bottle upside down. Cut 2 to 4 smaller pieces of the wire. Bend one edge as a hook and attach the other to the band.
Step Four
Insert the bottle through the container’s lid. Use a hot glue gun to secure it. The bottle should be standing straight without any other support.
Step Five
If you want to paint the feeder, do it now. Let it air dry and fill the bottle with nectar. Then, screw the cap on, close the container and turn the bottle upside down. The container will start to fill up. Finally, hang your hummingbird feeder made from an upcycled 2-liter bottle.
How To Clean A Hummingbird Feeder With A 2-liter Bottle
Plastic is likely to become a bacteria breeding habitat, so frequent cleaning is a must. Make a solution of mild soap and warm water. Remove the lid and soak the container. Unscrew the cap and fill the bottle with the solution. Let it sit for a few minutes and scrub with a bottle brush. Wash the holes on the cover and make sure they’re not clogged. Rinse and dry thoroughly before filling with sugar water.
Read more about Ruby Throated Hummingbird Predators
DIY Hummingbird Feeder vs Store Bought
Why should you go for a DIY project instead of just purchasing a hummingbird feeder? The number one reason is the price. The DIY hummingbird feeder uses supplies you already have lingering around your house. You can borrow the tools if you don’t own such.
A homemade hummingbird feeder won’t cost you over $5. However, the average price of a store-bought large-capacity hummingbird feeder is over $25. And if you plan to put out more than one, the cost adds up!
The second reason is to contribute to a cleaner environment. Plastic takes ages to degrade. Therefore, plastic bottles and containers can withstand harsh weather conditions like frost and blazing sunshine. You can always decorate it to add some color to your garden.
Other Types Of Homemade Hummingbird Feeder
If this feeder seems too large for you, there are other smaller DIY feeders. Choose one that suits your garden and the number of hummingbirds in your area.
- Ant Moat feeder – to keep ants from attacking the nectar. Place a small pot over the regular feeder that will trap any insect trying to reach the feeder.
- Baby Food Jar feeder – drill holes in the lid of the jar and fill with nectar. Wrap some wire and hang it on your balcony. It’s small, easy to do, and takes up minimal space.
- Salt Shaker feeder – buy a cheap salt or spice shaker. Fill with sugar water and use wire to hang it. Bonus points if you can find it in a bright color.
- Red Cup feeder – a throwback to your party days. Take a red solo cup, drill two holes and hang it with thread. Cut a hole on the side. Fill with nectar up to the hole.
Bottom Line: How To Make A Hummingbird Feeder With A 2-liter Bottle
Homemade hummingbird feeders are cheap and environment-friendly. For our suggestion, you’ll use items you already have at home. Get your hands on a 2-liter plastic bottle, an empty plastic container with a lid, and some wire. Optionally you can decorate it or paint it a special color.
You’ll save time and money but not buy yet another feeder. Plus, you can place more of them, making your garden a hummingbird’s buffet!
If you still haven’t made a DIY hummingbird feeder, this is the one to go for. Share this tutorial with your friends – or even better – invite them for an afternoon of DIY feeders!
