
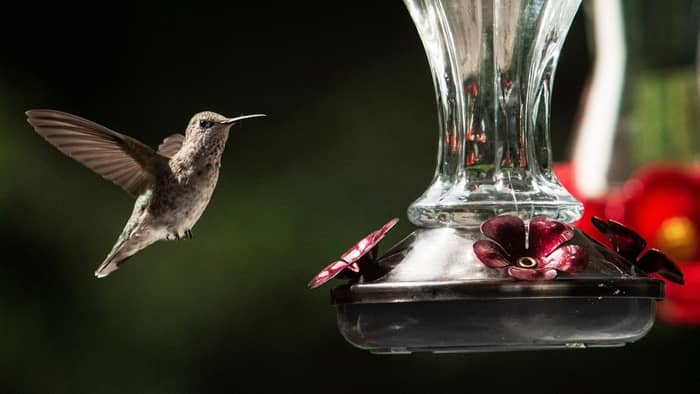
You don’t have the time or skills for a homemade feeder, so you purchased one of the crowd’s favorite – but now your perky pet hummingbird feeder leaks!
A leaking hummingbird feeder is no fun, and you must deal with it as soon as possible. Sugar water and nectar are sticky, attract bugs, and can make your balcony a mess. We dive into the causes and solutions; read on to be prepared for the worst-case scenario.
What Are Perky-Pet Hummingbird Feeders?
Perky-Pet is a haven for all bird lovers. This reputable company strives to support hummingbirds and bird lovers. What began as a small distribution company evolved into a popular hummingbird feeder brand.
For years, the team behind Perky-Pet was on the quest for an elegant and functional feeder. Finally, after years of failed searches, they dived into feeder production.
Today Perky-Pet grants support to hummingbird enthusiasts by providing valuable information. In addition, they help and protect hummingbird conservation and research programs. So your feeder comes from a responsible company that gives back to the birds.
Types of perky-pet feeders
There are 3 main categories of hummingbird feeders by Perky-Pet.
- The top-fill, available in seven colors, various shapes with capacity ranging from 12 to 48oz. Prices range from $10 to over $30.
- The window-mounted feeders are available in a single color. They’re smaller with a capacity from 8 to 14oz. Price ranges from $10 to over $20.
- For a touch of extra, there are the vintage feeders. They come in a plethora of shapes, 6 colors, and capacity from 3 to 48oz. Prices start at $10 and can go over $60.
Read more about How To Make A Hummingbird Feeder With A 2 Liter Bottle.
Perky-Pet Bird Feeder Parts – How To Take Apart?
Most Perky-Pet hummingbird feeders can be taken apart. This comes in handy with maintenance and filling. To take apart each model, look for the manufacturer’s instructions.
Let’s focus on the classic, top-fill feeder. Its base works as a sports bottle cap, so push it to stop the flow. If the feeder is not empty, remove the top lid and discharge the remaining nectar.
Start by removing the reservoir. It usually has engraved pointers with directions for opening and closing. Then we’re left with the base. Unscrew the top and bottom parts. Finally, remove the flowers located over the tiny gaps by popping them out.
Perky-Pet Hummingbird Feeder Instructions
Mistakes while filling are a big reason why your Perky-Pet hummingbird feeder leaks. Before filling up, check if the two elements of the base are screwed together. There’s a rubber seal molded inside the bottom part that keeps the feeder running properly.
Then, you need to attach the reservoir to the bottom. Place the neck over the base and push downwards. Turn it until you hear a popping sound. This is a sign that the reservoir is correctly attached to the opening and closing mechanism of the base. Don’t forget to add the small flowers over the openings of the base.
Now it’s time to fill it up. Keep the base intact and the reservoir pushed down – like an unopened sports bottle cap. Pour in the nectar leaving around 2 inches to the top. Attach the lid and rotate it until it’s tight. It’s essential to create a vacuum seal so the feeder will work properly.
Pull the top part and open the feeder. You’ll notice small air bubbles in the reservoir, which means the nectar is moving towards the right place.
Why Your Feeder Is Leaking?
A leaky hummingbird feeder is not always your or the manufacturer’s fault. Unfortunately, some factors can lead to a leaky mess out of our control.
- A feeder exposed to too much sun is the fastest way to a leak. First, the sun heats the nectar and the air inside the reservoir. Then, as the air expands, it pushes the nectar through the openings.
- Drastic temperature changes are also damaging. The barometric pressure switches the air pressure inside the feeder. The air then forces the nectar out.
- Nectar is delicious, so other larger birds and animals might try to get their hands on it. They often knock down the feeder leading to leaks and damages.
- Improper cleaning is another big reason. Nectar is sticky, and the feeders spend days outside to quickly accumulate dirt. When cleaning each seal properly, you keep the feeder tightly sealed.
- And finally, you might be out of luck and end up with a faulty feeder. Contact the merchant and return or exchange the feeder.
Are leaks a regular problem with feeders?
When it comes to hummingbird feeders, you can expect minor leaks. Sometimes is due to negligent filling up or improper placement. However, constant drips and leaks are a sign of concern. You must look deeper into the cause.
How To Clean & Prevent Leaks?
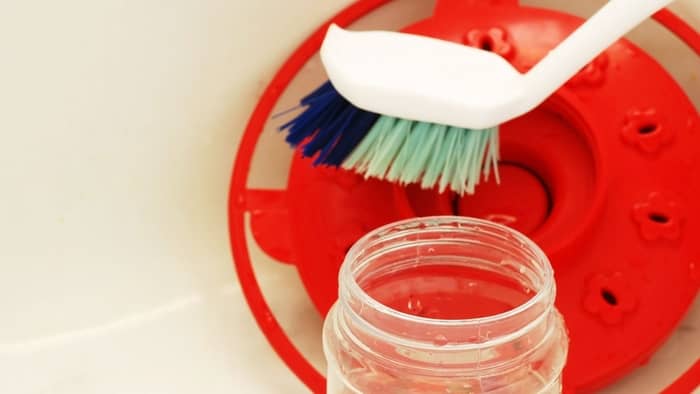
Before you start cleaning, you must disassemble the feeder. Discard all the nectar and place all the components in a plastic container. Fill the container with warm soapy water. Allow the parts to soak for a few minutes for all the sugar to dissolve. Use a soft sponge and scrub the feeder parts.
Use a bottle cleaning brush to clean the hard-to-reach spots. Wash thoroughly afterward with clean water. Make sure there’s no soap residue. Hummingbirds can taste and smell soap and will avoid the feeder in the future.
Prevent future Perky-Pet hummingbird feeder leaks by drying out all the components before assembling the feeder. Place it in a dappled shade and check daily for damages or leaks. Install insect protection around the feeder. During peak season, replace the nectar every 3 to 5 days. Clean the feeder every time you refill it to avoid sugary buildup.
Final Say: How To Stop Perky-Pet Hummingbird Feeder Leaks?
Perky-Pet hummingbird feeder leaks happen due to several reasons. Improper fill-up, poor cleaning, exposure to the sun, and temperature changes are just some of them. On a rare occasion, it can be due to feeder malfunction and attack from other animals. To prevent the mess, make sure to clean the feeder regularly. Check it daily for leaks and look for the culprit. Eventually, change the feeder for a more suitable or simpler model.